This article demonstrates how to send form data from the ASP.net web application using the Ajax post method without the form serialization.
We have already created the project in the previous part so we will use the same project, same view Model, and same form layout; however only send the data to the controller without the form serialization. So if you are new to this article you can refer to the previous article for detail and can follow up to step 6 to create the project.
This article is an extension of the previous part, hence here we will use the previous solution and start directly by adding the Action Method in the Home controller.
Step 1 – Add Action Method in Home Controller
Add Action Method named as CreateStudent1 in Home Controller which we will use to create a view for Student Form submission without form serialization.
Below is the code for the CreateStudent1 Action Method.
public IActionResult CreateStudent1() {
return View();
}
Step 2 – Add View
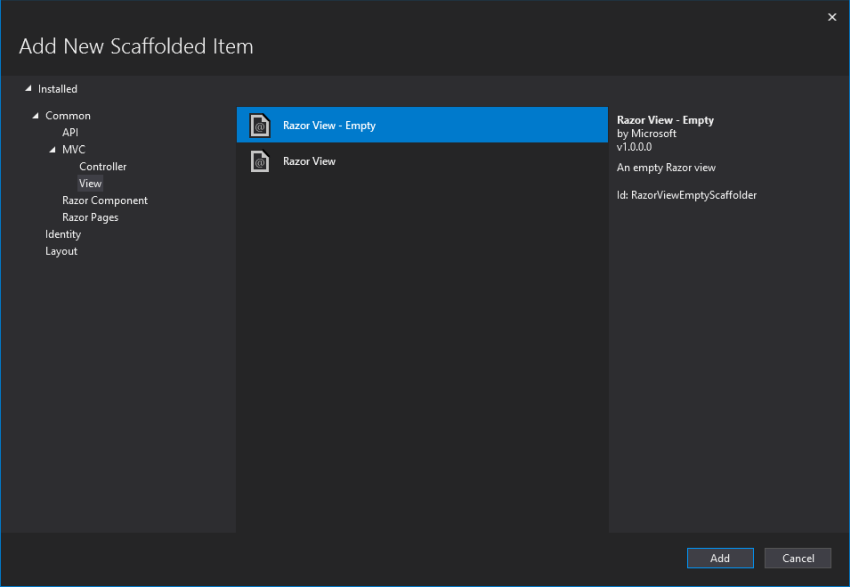
Right-click on the CreateStudent1 IActionResult method and add View for it as depicted below.
Select the Razor page and click on add.
CreateStudent1.cshtml code.
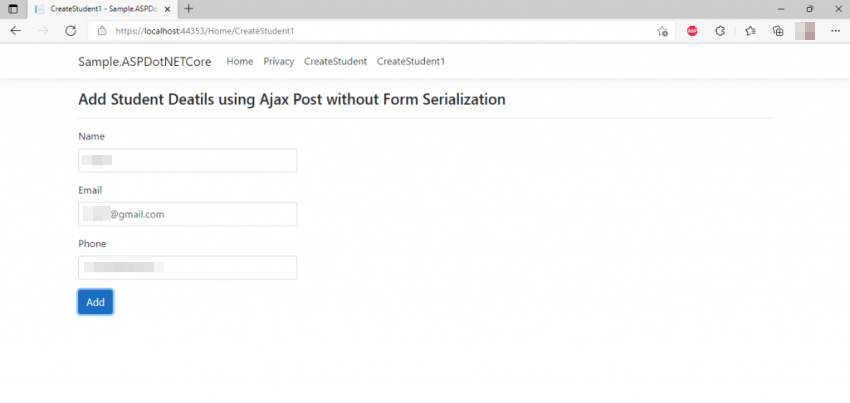
<h4>Add Student Deatils using Ajax Post without Form Serialization</h4>
<hr />
<div class="row">
<div class="col-md-4">
<form id="studenteForm" novalidate class="needs-validation">
<div asp-validation-summary="ModelOnly" class="text-danger"></div>
<div class="form-group">
<label asp-for="Name" class="control-label"></label>
<input asp-for="Name" class="form-control" id="name" required />
<span asp-validation-for="Name" class="text-danger"></span>
</div>
<div class="form-group">
<label asp-for="Email" class="control-label"></label>
<input asp-for="Email" type="email" class="form-control" id="email" />
<span asp-validation-for="Email" class="text-danger"></span>
</div>
<div class="form-group">
<label asp-for="Phone" class="control-label"></label>
<input asp-for="Phone" class="form-control" id="phone" />
<span asp-validation-for="Phone" class="text-danger"></span>
</div>
<div class="form-group">
<button type="button" class="btn btn-primary" onclick="submitStudent()">Add </button>
</div>
</form>
</div>
</div>
@section Scripts {
@{await Html.RenderPartialAsync("_ValidationScriptsPartial");}
}
Then, we will use the below JavaScript on the form submission button click event using Ajax in CreateStudent.cshtml page. Here we will not use a form serializer. In the previous part, we have used a form serializer.
<script type="text/javascript">
function submitStudent() {
//below we are binding the input data (json format) in a variable inorder to post it.
var data = {
Name: $("#name").val(),
Email: $("#email").val(),
Phone: $("#phone").val()
}
console.log(data);
$.ajax({
type: 'POST',
url: '/Home/AddStudent',
contentType: 'application/json; charset=utf-8',
data: JSON.stringify(data),
success: function (result) {
alert('Successfully received Data ');
console.log(result);
},
error: function () {
alert('Failed to receive the Data');
console.log('Failed ');
}
})
}
</script>
You can find complete CreateStudent.cshtml code below:
@model Sample.ASPDotNETCore.Models.StudentModel
@{
ViewData["Title"] = "CreateStudent1";
}
<script type="text/javascript">
function submitStudent() {
var data = {
Name: $("#name").val(),
Email: $("#email").val(),
Phone: $("#phone").val()
}
console.log(data);
$.ajax({
type: 'POST',
url: '/Home/AddStudent',
contentType: 'application/json; charset=utf-8',
data: JSON.stringify(data),
success: function (result) {
alert('Successfully received Data ');
console.log(result);
},
error: function () {
alert('Failed to receive the Data');
console.log('Failed ');
}
})
}
</script>
<h4>Add Student Deatils using Ajax Post without Form Serialization</h4>
<hr />
<div class="row">
<div class="col-md-4">
<form id="studenteForm" novalidate class="needs-validation">
<div asp-validation-summary="ModelOnly" class="text-danger"></div>
<div class="form-group">
<label asp-for="Name" class="control-label"></label>
<input asp-for="Name" class="form-control" id="name" required />
<span asp-validation-for="Name" class="text-danger"></span>
</div>
<div class="form-group">
<label asp-for="Email" class="control-label"></label>
<input asp-for="Email" type="email" class="form-control" id="email" />
<span asp-validation-for="Email" class="text-danger"></span>
</div>
<div class="form-group">
<label asp-for="Phone" class="control-label"></label>
<input asp-for="Phone" class="form-control" id="phone" />
<span asp-validation-for="Phone" class="text-danger"></span>
</div>
<div class="form-group">
<button type="button" class="btn btn-primary" onclick="submitStudent()">Add </button>
</div>
</form>
</div>
</div>
@section Scripts {
@{await Html.RenderPartialAsync("_ValidationScriptsPartial");}
}
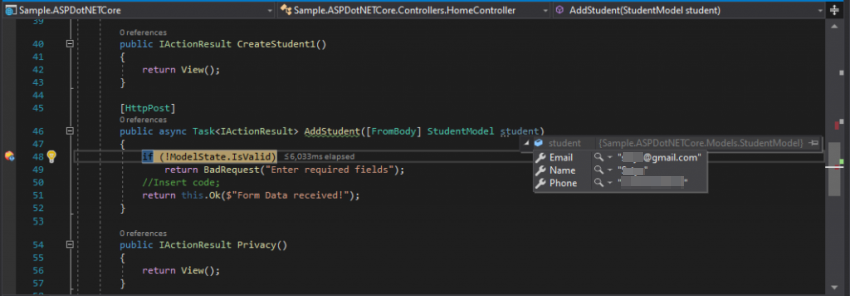
Step 3 - Add post method in Home Controller for Submit button click Event
Then we will write the Post method in HomeController for the Form Submit event. Below is the code of the HTTP post method in HomeController with Model validation.
[HttpPost]
public async Task < IActionResult > AddStudent([FromBody] StudentModel student) {
if (!ModelState.IsValid) return BadRequest("Enter required fields");
//Insert code;
return this.Ok($ "Form Data received!");
}
Now, it’s time to build and run the project. Fill in the Student Form data and test it.
Below is the home page design:
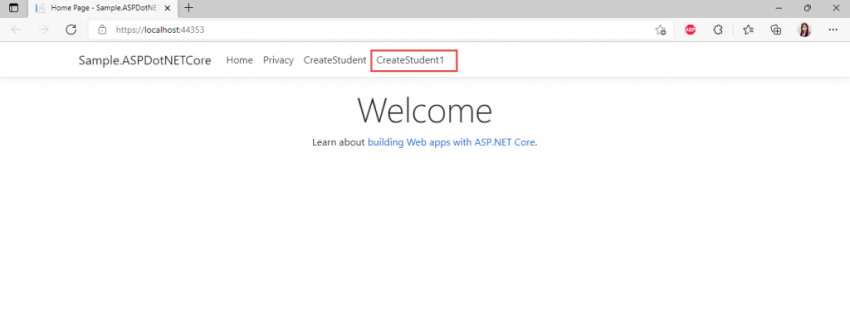
Design of created Student page for data submission.
When the user clicks on Submit button, data will be sent to the controller like below.
Hence, we have submitted the form data to the controller from the Student Details form.
To recapitulate, in this article we have learned to submit the data using Ajax in the ASP.NET Core application without JSON form serializer. This is how we can send the form data using these different methods that we have learned in this article series.
European best, cheap and reliable ASP.NET hosting with instant activation. HostForLIFE.eu is #1 Recommended Windows and ASP.NET hosting in European Continent. With 99.99% Uptime Guaranteed of Relibility, Stability and Performace. HostForLIFE.eu security team is constantly monitoring the entire network for unusual behaviour. We deliver hosting solution including Shared hosting, Cloud hosting, Reseller hosting, Dedicated Servers, and IT as Service for companies of all size.
