Before starting the article, I would like to share with you all that after a small break I have come back to write articles and I hope all my upcoming articles will be interesting and useful for all my readers. After this .NET 6.0 intro article, I plan to publish a series of .NET 6.0 and Angular articles.
In this article, we will see why we need to move our existing projects from .NET 5.0 to .NET 6.0 also for all our new projects why we need to start with .NET 6.0 instead of .NET 5.0.
In March 2022 Microsoft announced as from May 10 2022 Microsoft will stop all the support which also includes security support and technical support. Check this article for more details from the official Microsoft announcement https://devblogs.microsoft.com/dotnet/dotnet-5-end-of-support-update/.
Microsoft also stated in the above blog that the existing users can still run the .NET 5.0 for their current project but at the same time if the users need any security support or technical support then it's not possible after May 10, 2022.
Do we need to move or start with .NET 6.0?
Yes, we need to migrate from .NET 5.0 to .NET 6.0.
The main reason why I recommend this is that, more than technical support, Microsoft is also stopping the security support of .NET 5.0. Security support is more important than technical support as in the future if we found any vulnerability in .NET 5.0 then Microsoft can not support on any security issues. Considering the security and technical support it is good and advisable to migrate or create all our future projects from .NET 5.0 projects to .NET 6.0
In this article, we will see in detail about getting start with .NET 6.0 by installing the Visual Studio 2022.
Visual Studio 2022
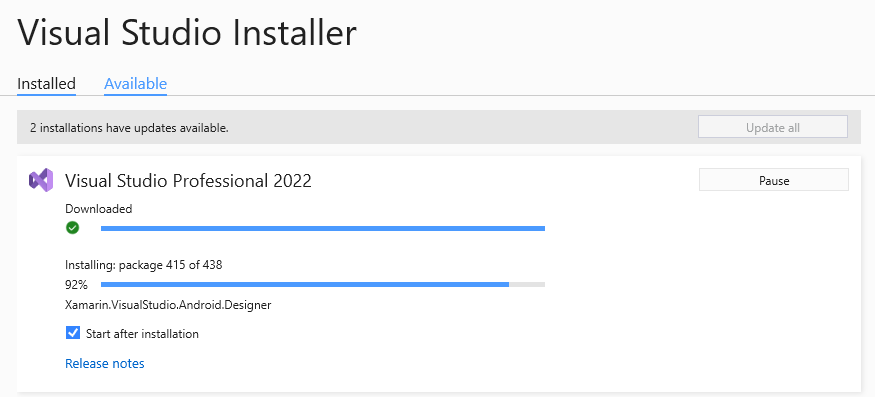
If you have not yet installed Visual Studio 2022 then you can download the Visual studio 2022 from this link and install it on your computer.
Download and install the Visual Studio 2022.
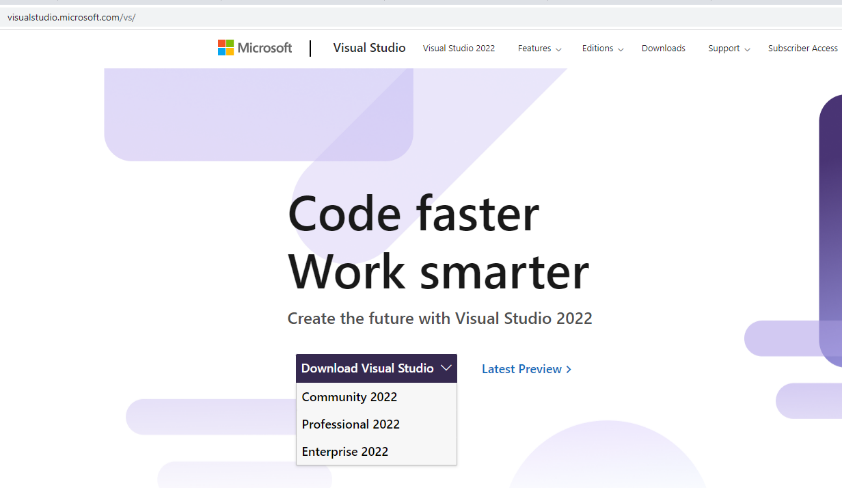
Note: The Community version is free for all and you can download the community version if you don’t have the Installation Key. If you have the Installation key or have the MSDN subscription then you can download the Professional or Enterprise version. As a Microsoft MVP, I have the MSDN subscription and I have installed the Professional version.
Getting started with .NET 6.0
.NET 6.0 has more advantages than working with the .NET 5.0 as .NET 6.0 has more improvement on the performance which also includes some major advantage as it has intelligent code editing and also it is called the fastest full-stack web framework. The .NET 6.0 also provides better performance in the File Stream.
We will see a demo on creating console application in .NET 6.0 and also, we will see what advantage the Console application has in .NET 6.0 with an example of intelligent code editing.
Create .NET 6.0 Console Application
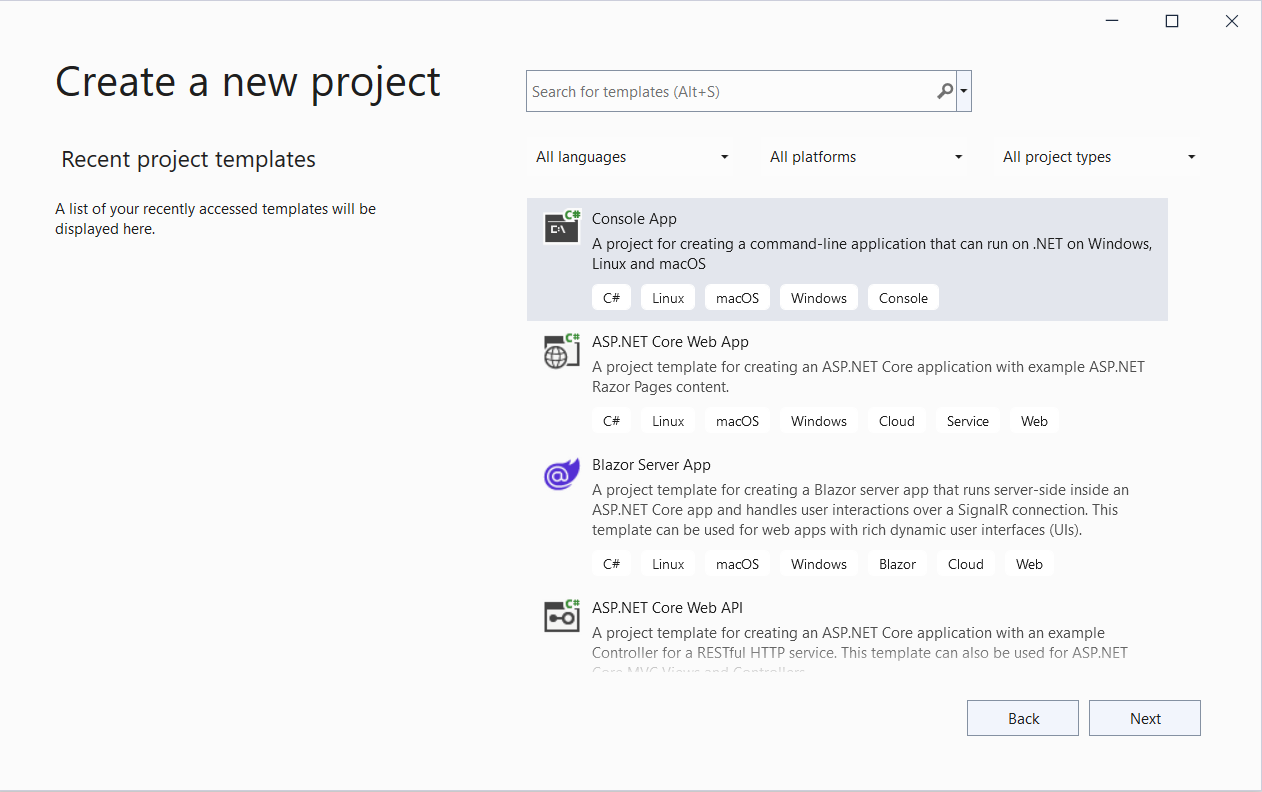
After installing all the prerequisites listed above and clicking Start >> Programs >> Visual Studio 2022 >> Visual Studio 2022 on your desktop. Click New >> Project.

Click on Console App and Click Next
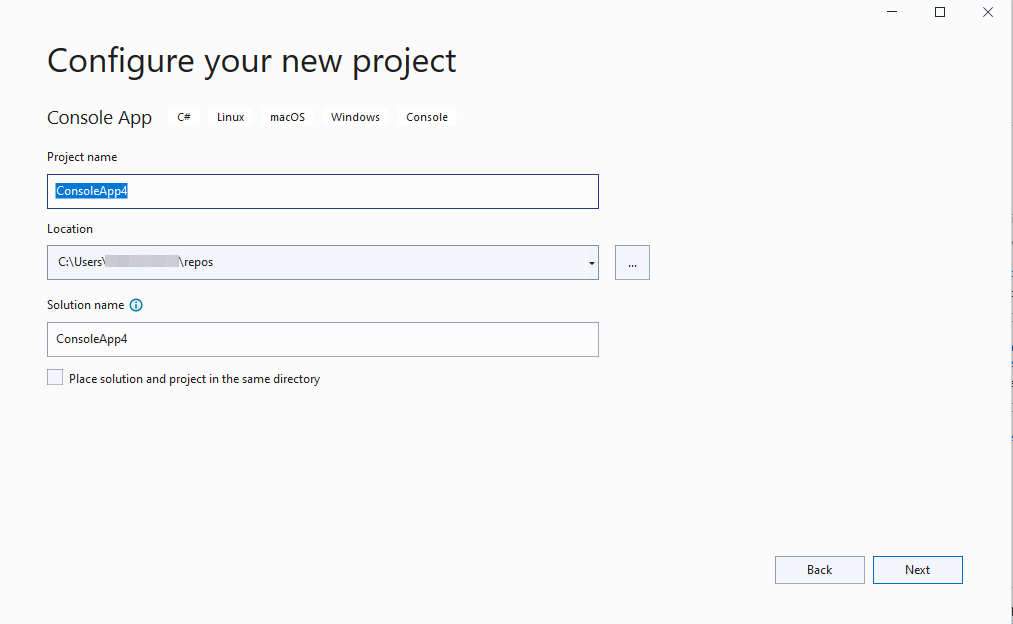
Enter your project name and click Next.
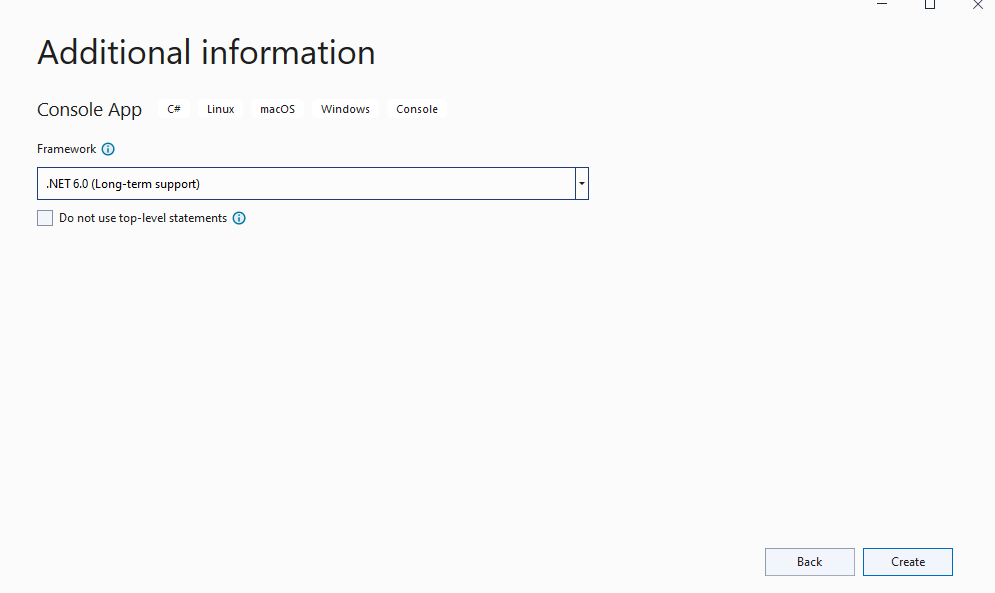
Now we can see the Framework is .NET 6.0(Long term support). Click on the Create button to create our first .NET 6.0 Console application.
When we create the new console application, we can see very simple code in our program.cs file.

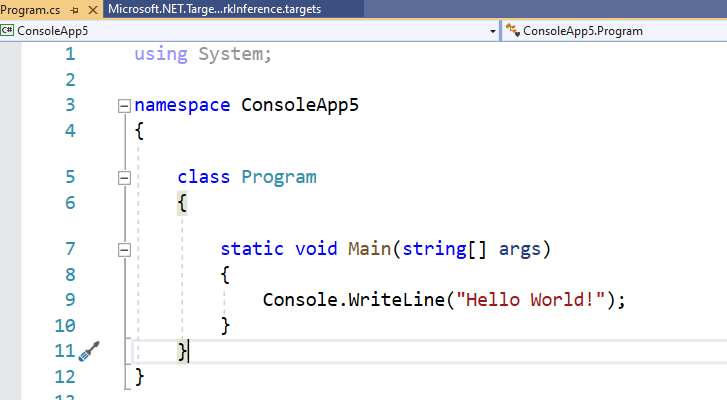
.NET 5.0 and previous versions of .NET
In the .NET 5.0 and previous versions for any console application, we can see the main method, class, namespace, and the using header files. Without any of the below code the program cannot be executed.
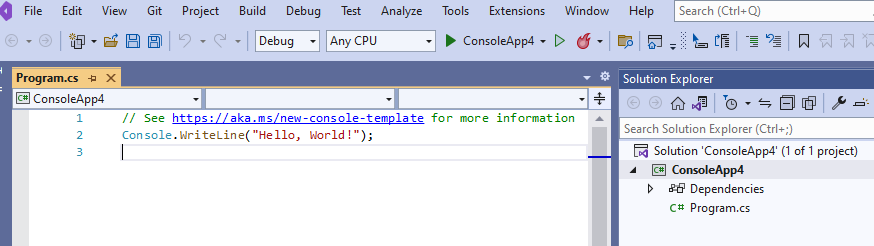
.NET 6.0 Console Application
We can see that there is no main method, class, and using headers in the program.cs file. But don’t panic, yes now in the .NET 6.0 the codes are made simpler and the intelligent code supports seem to be more advanced and now it’s easier and reduces the time on working our codes and projects.
Top-Level statements
This is called the Top-Level statements as the main method is not needed from the C# 9. The main aim of the Top-Level statement is to reduce the code and improve the performance. The main method and the class will be created by the compiler as we don't need to write separate code for it.
After the Top-Level statements introduced from C# 9.0 now, it seems easier for programming and easy to learn C#. Yes, now it seems like Small Basic programming and it makes it easier for the programmers to get started and work on codes.
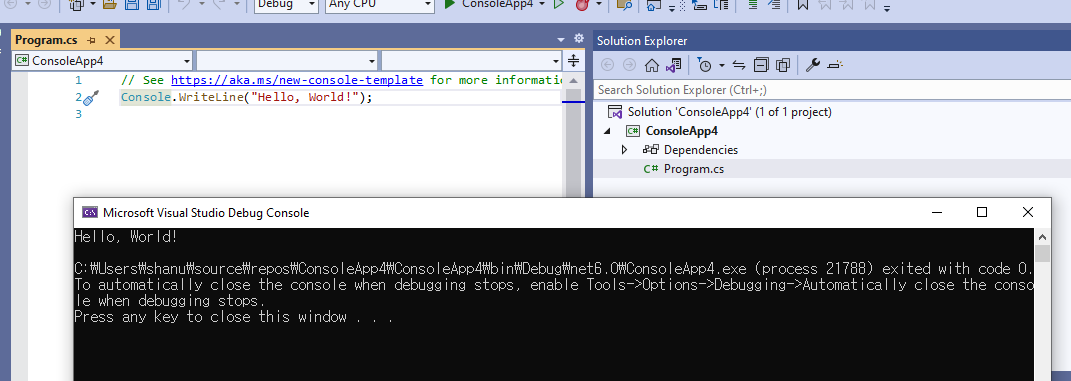
When we run the program or press the F5 button from the application, we can see the .NET 6.0 can run without any errors even though the main method is missing
.NET 6.0 Intelligent Code Editing
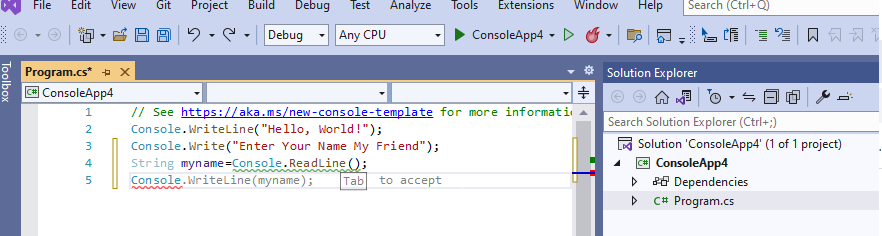
In the same application, I will add the code to get the name and display the name in command prompt. For this, I have declared the string as myname and using the Console.ReadLine() method the input from the user and display the results.
You can see when I enter the Console and press the Tab the code is automatically generated and also the intelligent code has automatically added the string as myname to be displayed. This reduces the coders workload 😊, also I'm happy to work with Intelligent Code editing as it's also fun to work with the codes.
When we run the program and enter the name in command prompt and press enter.
Working with Simple Methods in .NET 6.0
Here we will see two ways of creating the functions in .NET 6.0 as in the first method for all the single like statements its more easy to follow the method format with the => codes and for all the multiple statements we can use the {} brackets as we do earlier.
I hope this article helps you to understand why we need to migrate or started working with .NET 6.0. Also explained a few basic advantages of .NET 6.0. As I mentioned in this article mainly for the security updates and concerns we need to move from .NET 5.0 to .NET 6.0.
European best, cheap and reliable ASP.NET hosting with instant activation. HostForLIFE.eu is #1 Recommended Windows and ASP.NET hosting in European Continent. With 99.99% Uptime Guaranteed of Relibility, Stability and Performace. HostForLIFE.eu security team is constantly monitoring the entire network for unusual behaviour. We deliver hosting solution including Shared hosting, Cloud hosting, Reseller hosting, Dedicated Servers, and IT as Service for companies of all size.
