In this article, we will try to have a general introduction to OData Protocol, and later on, we will try to implement OData with ASP.NET Core Web API to supercharge it.
Let's get started,
Open Data Protocol(OData) is an open protocol that allows the creation and consumption of queryable and interoperable REST APIs in a standard way. It defines a set of best practices building and consuming RESTful services without having to worry about the various approaches to define request and response header, status code, HTTP methods, URL convention and helps us to focus only on the business logic. It helps to enhance the capabilities of the API by advocating a standard way of implementing API that allows SQL-Like querying capabilities which are generally considered to be "SQL for the Web".OData basically adds one layer over the API treating the endpoint itself as a resource and adds the transformation capabilities (Selection, Sorting, Filtering, Paging) via the URL.
Advantages of using OData
The main advantage of OData is the support for generic queries against the service data. It basically replaces the classic "Get<EntityName>By><Criteria>" web services(like GetAllEmployees, GetEmployeeByID, GetEmployeeByDepartment). For example, we have a method "GetAllEmployees()" on our server that returns the list of all employees, and from the client-side, we call "https://localhost:<port>/odata/Employee" and show the list of Employees on our client-side. But as a requirement we also need to show the details of any specific employee, in our traditional development for this we need to create another method on our server-side "GetEmployeeByID(int id)" and this method will return the details of a specific employee. But with OData we don't need to create this new method, we can simply use our "GetAllEmployees()" and just filter our existing endpoint like this "https://localhost:<port>/odata/Employee?$filter=EmployeeId eq 1" and this will return us the employee details of the first employee. So look that's really simple, we don't need to implement various actions or use query parameters to provide filtered data or you may need a new filter for your client, it is very likely that we don't have to change the server just put up the query on the client-side. Along with the filter, we can also do operations like paging data, etc.
Another notable advantage of OData is the ability to provide metadata about the service interface. A metadata document is a static resource that describes the data model and type of particular OData services. And the client can use the metadata to understand how to query and navigate between entities.
Requesting & Querying Data in OData
Now we have introductory-level knowledge about OData let's explore the requesting process of OData. For this, we will use the demo OData service "https://services.odata.org/V4/TripinService".
Get Entity Collection
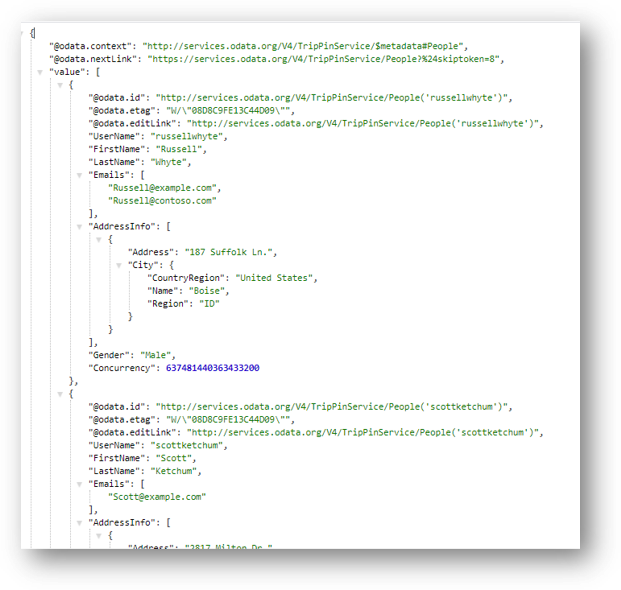
OData services support requests for data via HTTP Get requests. So from the demo OData service if we want to get a collection of all People entity we can query "https://services.odata.org/V4/TripPinService/People".
$filter
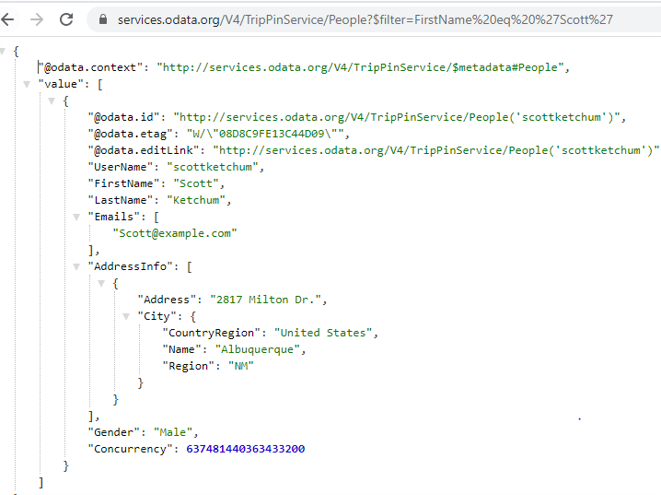
$filter query option allows the client to filter collection of each depending on the expression address by URL.
For example,
https://services.odata.org/V4/TripPinService/People?$filter=FirstName eq ‘Scott’
This query returns the list of People with FirstName "Scott". So the response for this will be something like this,
$orderby
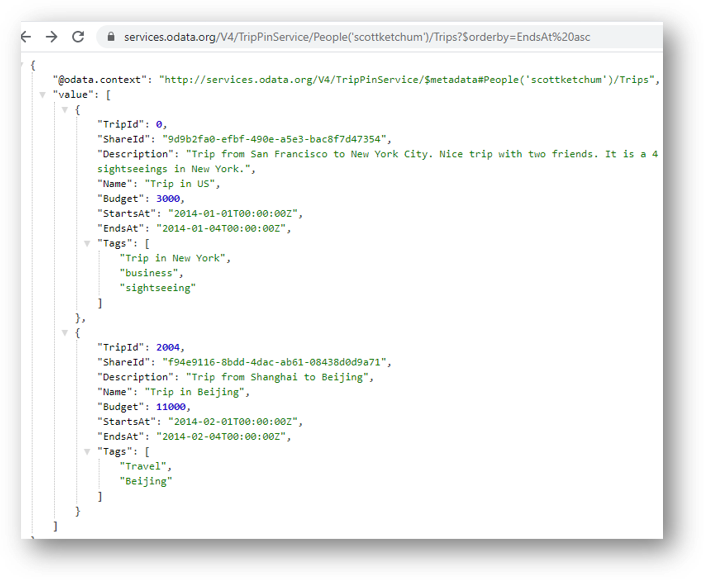
"$orderby" query option allows the client to request the resource in either ascending order using 'asc' or descending order by 'desc'.
Example: https://services.odata.org/V4/TripPinService/People('scottketchum')/Trips?$orderby=EndsAt desc
This query return Trips of individual people and order them on property 'EndsAt' in descending order.
$top
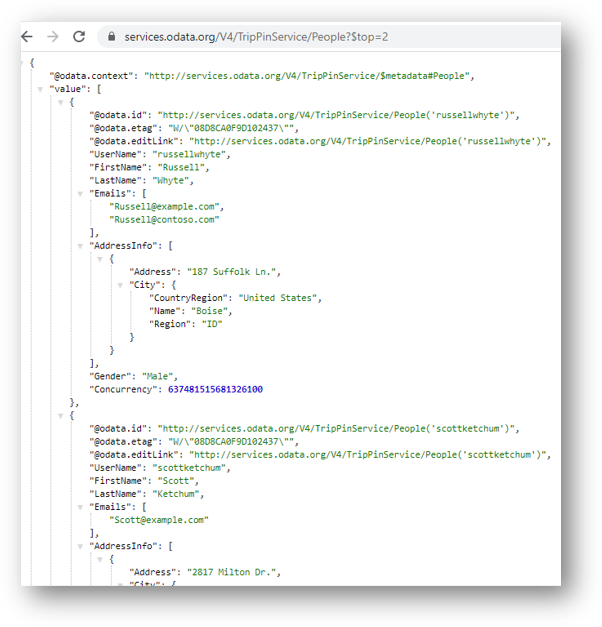
"$top" requests the number of items in the queried collection to be included in the result.
Example:
https://services.odata.org/V4/TripPinService/Peope?$top=2
This query returns the first two people of the people entity.
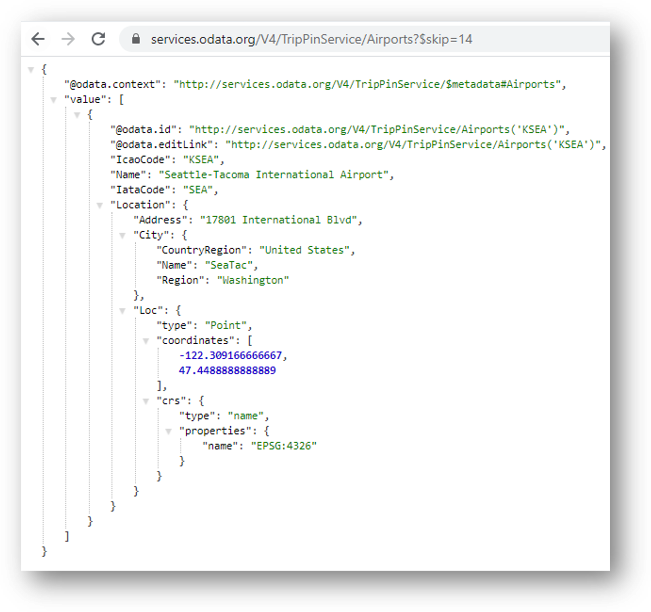
$skip
"$skip" query option request the number of items in the queried collection that are to be skipped.
Example: https://services.odata.org/V4/TripPinService/Airports?$skip=14
This query returns resources skipping the first 14
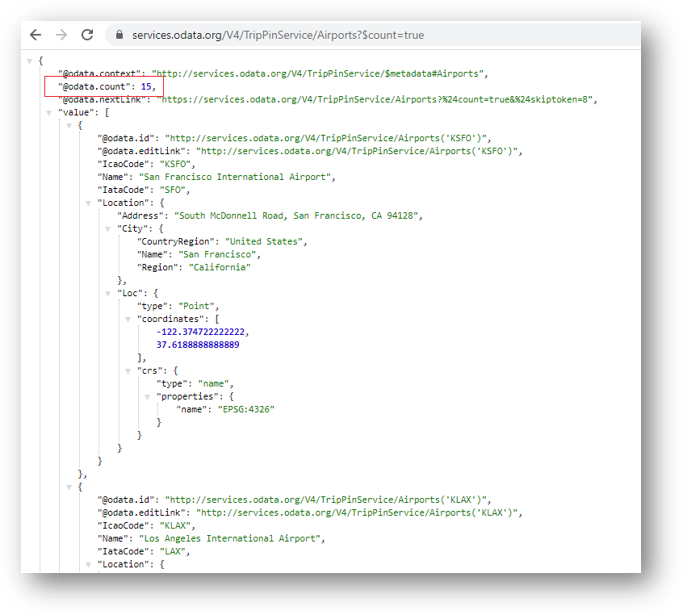
$count
"$count" query option allows the client to request a count of the matching resources included with the resources in the response.
Ex:
https://services.odata.org/V4/TripPinService/Airports?$count=true
This example query requests to return the total number of items in the collection.
$expand
"$expand" query options specify the related resource to be included in the resource collection.
Example:
https://services.odata.org/V4/TripPinService/People?$expand=Friends,Trips
This example query returns People with navigation property Friend and Trips of a person.

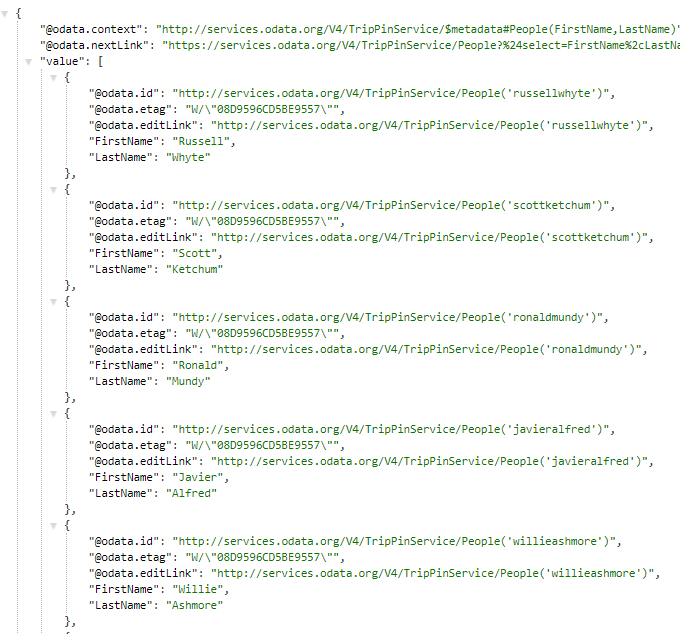
$Select
"$select" query option allows the client to request a limited set of resources for each entity.
Ex.
https://services.odata.org/V4/TripPinService/People?$select=FirstName,LastName
Here the client requesting to return only the FirstName and LastName property of each person.
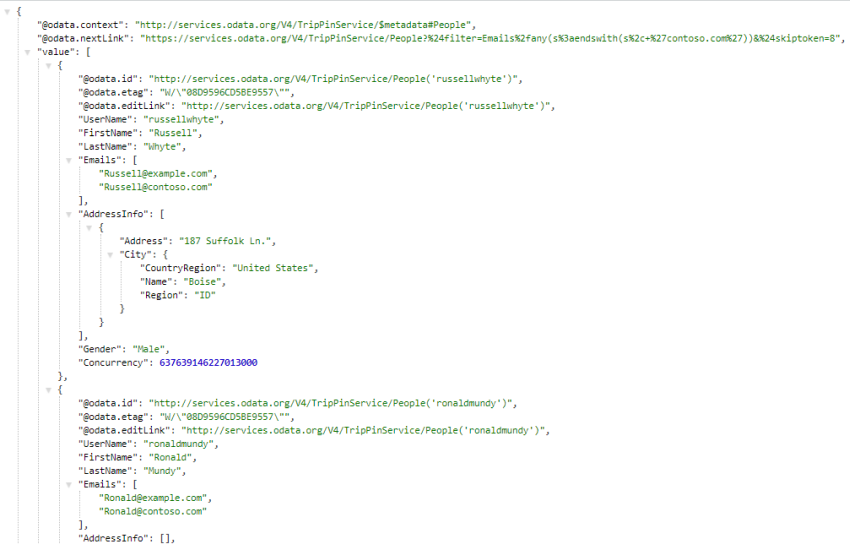
Lambda Operators
OData defines two operators any and all that evaluate the Boolean expression on a collection.
Ex.
https://services.odata.org/V4/TripPinService/People?$filter=Emails/any(s:endswith(s, 'contoso.com'))
Implementing OData with ASP.NET Core
First, we will create a new ASP.NET Core API Project and install "Microsoft.AspNetCore.OData" using the package manager console.
Install-Package Microsoft.AspNetCore.OData -Version 7.5.5
Now we need to add the entity class "Student".
public class Student {
public int StudentID {
get;
set;
}
public string FName {
get;
set;
}
public string SName {
get;
set;
}
public string IDNumber {
get;
set;
}
public string EmailAddress {
get;
set;
}
public DateTime DateCreated {
get;
set;
}
}
Then we will proceed to create DbContext class called AppDbContext. As we are familiar with this context class and the whole connection things to database with .NET application so I'm skipping the description of it.
public class AppDbContext: DbContext {
public AppDbContext(DbContextOptions < AppDbContext > options): base(options) {}
public AppDbContext() {}
public DbSet < Student > Student {
get;
set;
}
}
Now we need to modify the startup.cs file to support OData. On the configureServices() method we are disabling endpoint routing. And inside the Configure() method we will add routeBuilder inside the UseMvc method and specify various OData options(Select, Filter, etc) and another more important thing is we are providing "GetEdmModel()" this method creates the necessary IEdmModel object for us.
public void ConfigureServices(IServiceCollection services) {
services.AddControllers(mvcOptions => mvcOptions.EnableEndpointRouting = false);
services.AddOData();
//rest of the code
}
public void Configure(IApplicationBuilder app, IWebHostEnvironment env) {
//Rest of the code
app.UseMvc(routeBuilder => {
routeBuilder.Select().Filter().Expand().OrderBy().Count().MaxTop(100);
routeBuilder.MapODataServiceRoute("odata", "odata", GetEdmModel());
});
}
private IEdmModel GetEdmModel() {
var edmBuilder = new ODataConventionModelBuilder();
edmBuilder.EntitySet < StudentCourse > ("StudentCourse");
edmBuilder.EntitySet < Student > ("Student");
return edmBuilder.GetEdmModel();
}
Now to add the OData service we will create Controller "StudentController" that will be inherited from the ODataController.
[ODataRoutePrefix("Student")]
public class StudentController: ODataController {
private readonly AppDbContext db;
public StudentController(AppDbContext db) {
this.db = db;
}
[HttpGet]
[EnableQuery()]
public IQueryable < Student > Get() {
return db.Student.AsQueryable();
}
[EnableQuery]
[ODataRoute("({id})")]
public Student Get([FromODataUri] int id) {
return db.Student.Find(id);
}
}
Explanation
Line 1
We have added a "[ODataRoutePrefix("Student")]" so the sample route will be "https://localhost/odata/Student"
Line 12
[EnableQuery()] attribute enables OData querying for the underlying action.
Now if we build and run the application and navigate to "https://localhost:<port>/odata/Student" we will get a list of Students.
Consume OData Feed with C# Client
Simple.OData.client is a library that supports all OData protocol versions. This is used to consume the OData feed with C# that supports different .NET versions.
Let's create a .NET Core console application named and inside the application install the Simple.OData.Client library using this command in package manager console.
Install-Package Simple.OData.Client -Version 5.18.2
Now create a new folder "Models" and create a class Student inside this folder. Here we will create typed classes for each table data to be consumed. As we are going to consume student data so we built a Student class according to the metadata exposed by our service.
public class Student
{
public int StudentID { get; set; }
public string FName { get; set; }
public string SName { get; set; }
public string IDNumber { get; set; }
public string EmailAddress { get; set; }
public DateTime DateCreated { get; set; }
}
Now we will make a get request using the ODataClient and print the response in the console.
class Program {
static async Task Main(string[] args) {
SimpleQuery();
Console.ReadKey();
}
static async void SimpleQuery() {
var settings = new ODataClientSettings(new Uri("https://localhost:44340/odata/"));
var client = new ODataClient(settings);
try {
var response = await client.For < Student > ().Filter(x => x.StudentID > 1).OrderBy(s => s.SName).Select(p => new {
p.StudentID, p.SName, p.FName
}).FindEntriesAsync();
foreach(var res in response) {
Console.WriteLine("Student ID:" + res.StudentID + ", Student Name: " + res.SName + "," + " Father's Name:" + res.FName);
}
} catch (Exception e) {
Console.WriteLine("Simple Query " + e);
}
}
}
Finally, our project structure will look like this,
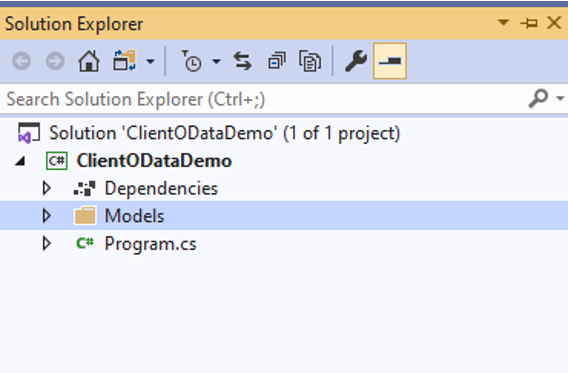
Now if we run our Client project (make sure the API service is running) we will get the response.
European best, cheap and reliable ASP.NET hosting with instant activation. HostForLIFE.eu is #1 Recommended Windows and ASP.NET hosting in European Continent. With 99.99% Uptime Guaranteed of Relibility, Stability and Performace. HostForLIFE.eu security team is constantly monitoring the entire network for unusual behaviour. We deliver hosting solution including Shared hosting, Cloud hosting, Reseller hosting, Dedicated Servers, and IT as Service for companies of all size.
