January 28, 2020 11:09 by
 Peter
PeterViewComponent was introduced in ASP.NET Core MVC. It can do everything that a partial view can and can do even more. ViewComponents are completely self-contained objects that consistently render html from a razor view. ViewComponents are very powerful UI building blocks of the areas of application which are not directly accessible for controller actions. Let's suppose we have a page of social icons and we display icons dynamically. We have separate settings for color, urls and names of social icons and we have to render icons dynamically.
Previously this kind of thing was achieved by HtmlHelpers and child actions but now it is very easy to use ViewComponent for this purpose. It is very easy to create your dynamic elements in a ViewCompnent and render in a view.
Creating a ViewComponent?
Step 1
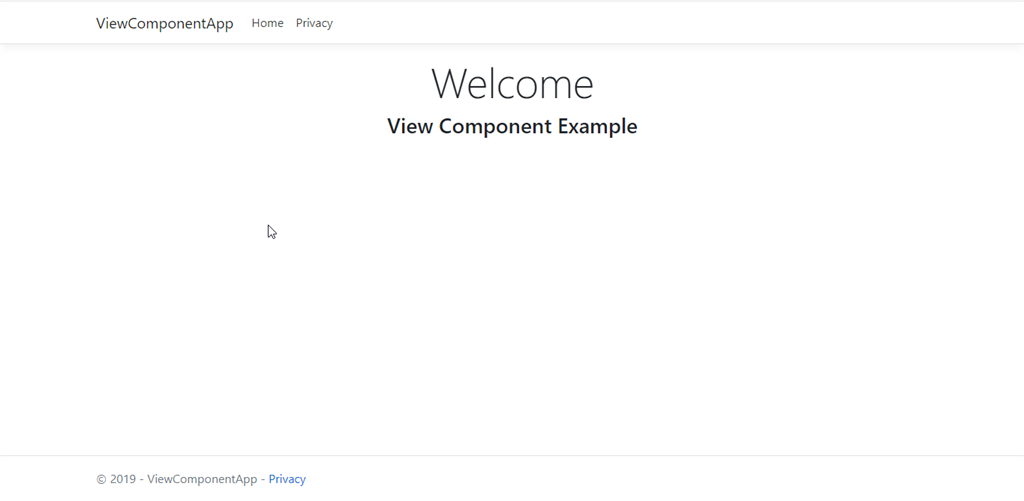
Create a new ASP.NET Core MVC application and run that application. You can see an empty page like the following,
Step 2
We have to display data dynamically. In real scenarios dynamic data mostly comes from the database but for our application we do not use a database and we will create a class to generate fome data. So let's create a class. Add a class with name SocialIcon and add the following fields and methods in it,
public class SocialIcon
{
public int ID { get; set; }
public string IconName { get; set; }
public string IconBgColor { get; set; }
public string IconTargetUrl { get; set; }
public string IconClass { get; set; }
public static List<SocialIcon> AppSocialIcons()
{
List<SocialIcon> icons = new List<SocialIcon>();
icons.Add(new SocialIcon { ID = 1, IconName = "Google", IconBgColor = "#dd4b39",IconTargetUrl="www.google.com", IconClass="fa fa-google" });
icons.Add(new SocialIcon { ID = 2, IconName = "Facebook", IconBgColor = "#3B5998", IconTargetUrl="www.facebook.com", IconClass="fa fa-facebook" });
icons.Add(new SocialIcon { ID = 3, IconName = "Linked In", IconBgColor = "#007bb5", IconTargetUrl = "www.linkedin.com", IconClass= "fa fa-fa-linkedin" });
icons.Add(new SocialIcon { ID = 4, IconName = "YouTube", IconBgColor = "#007bb5", IconTargetUrl = "www.youtube.com", IconClass="fa fa-youtube" });
icons.Add(new SocialIcon { ID = 5, IconName = "Twitter", IconBgColor = "#55acee", IconTargetUrl = "www.twitter.com",IconClass="fa fa-twitter" });
return icons;
}
}
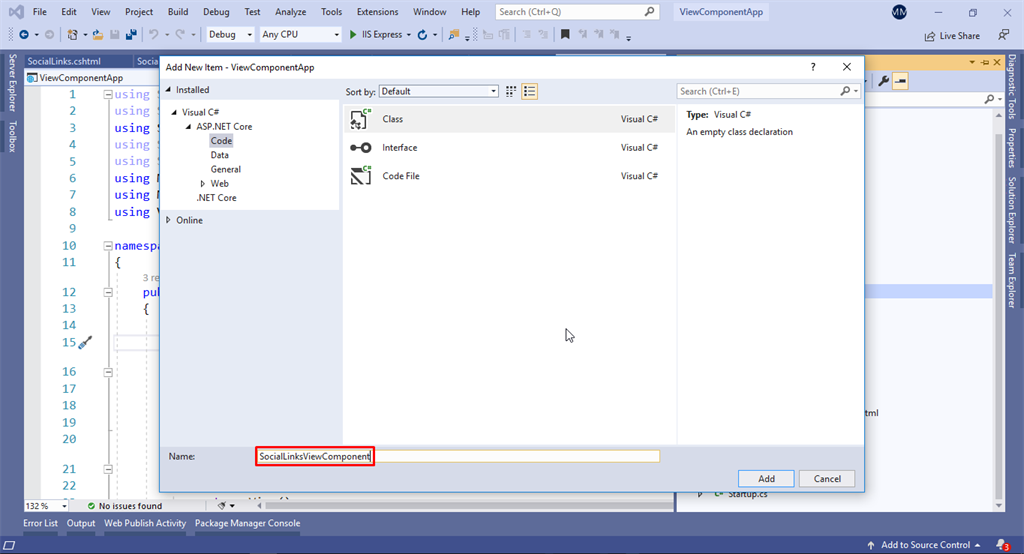
Step 3
Add a ViewComponent class with name SocialLinksViewComponent. (Don't forget to add ViewComponent with name, in our application we will use it with name SocialLinks and by writing ViewComponent with its name system will understand that it is ViewComponent and will be handled accordingly).
Step 4
ViewComponents are generated from a C# class derived from a base class ViewComponent and are typically associated with a Razor files to generate markup. Just like controllers, ViewComponents also support constructor injection. To implement SocialLinksViewComponent add the following code in your class that you have just created:
public class SocialLinksViewComponent : ViewComponent
{
List<SocialIcon> socialIcons = new List<SocialIcon>();
public SocialLinksViewComponent()
{
socialIcons = SocialIcon.AppSocialIcons();
}
public async Task<IViewComponentResult> InvokeAsync()
{
var model = socialIcons;
return await Task.FromResult((IViewComponentResult)View("SocialLinks", model));
}
}
We created a class and added a List of SocialIcon class. In constructor we loaded our list with data (it is not mandatory to add in constructor you can add data in InvokeAsync method as well and there will be no need of constructor). It will return data in our model object and will render markup in Razor View SocialLinks.
Step 5
We added a folder in Views > Shared with the name Components (it should have Components name). And will added a folder SocialLinks in this folder we created a Razor View with name SocialLinks.cshtml. Do the same and add the following code in Razor View,
@model IList<ViewComponentApp.Models.SocialIcon>
<div class="col-md-12" style="padding-top:50px;">
@foreach (var icon in Model)
{
<a style="background:@icon.IconBgColor" href="@icon.IconTargetUrl">
<i class="@icon.IconClass"></i>
@icon.IconName
</a>
}
</div>
Step 6
Now we have implemented our ViewComponent and added markup html in our coresponding Razor View. Now we will call this ViewComponent in our desired page where it is needed. I am calling it on Index.cshtml page you can use it anywhere in the application with just this following code,
@(await Component.InvokeAsync("SocialLinks"))
This above code snippet is the way we can call a ViewComponent in our Razor Views. It will render the desired markup. You can also pass parameters in ViewComponents as following,
@(await Component.InvokeAsync("SocialLinks", new { IconsToShow = 5 }))
This is how we can pass parameters. But in our application we are not passing any parameters so we will use the snippet above. So code in our Index.cshtml page will look like this,
@{
ViewData["Title"] = "Home Page";
}
<style>
a {
padding: 5px;
margin: 5px;
color: white;
}
.main-div {
margin-bottom: 20px;
padding-bottom: 20px;
}
</style>
<div class="text-center main-div">
<h1 class="display-4">Welcome</h1>
<h3>View Component Example</h3>
@(await Component.InvokeAsync("SocialLinks", new { IconsToShow = 5 }))
</div>
Step 7
Run the application. After successfully running the application you will see the following output,
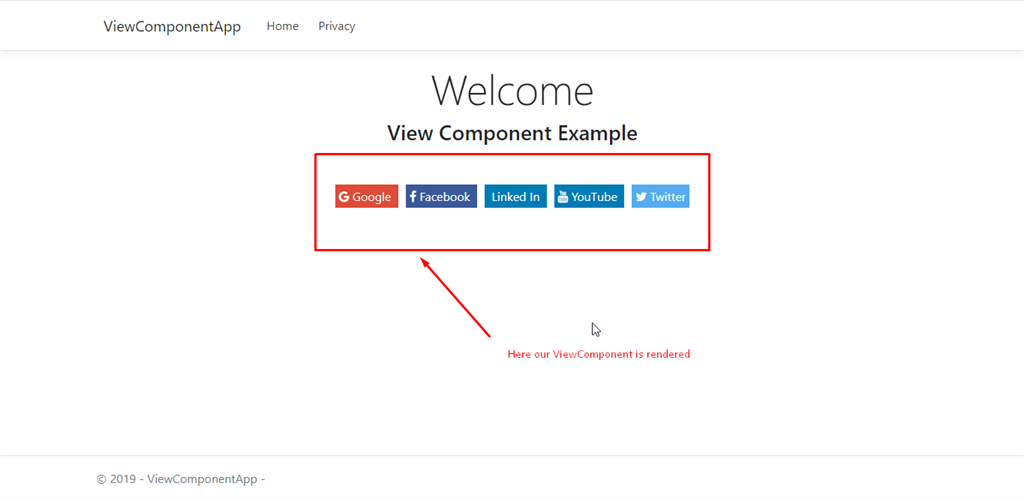
You can see that our ViewComponent is rendered on our Index.cshtml page. Similarly this can be rendered on any page in application using the same call that we used on Index.cshtml page.