
March 7, 2022 07:34 by
 Peter
PeterAPI key authentication will keep a secure line between the API and clients, however, if you wish to have user authentication, go with token-based authentication, aka OAuth2.0. In this article, you will learn how to implement the API Key Authentication to secure the ASP.NET Core Web API by creating a middleware.
API Key Authentication
Step 1
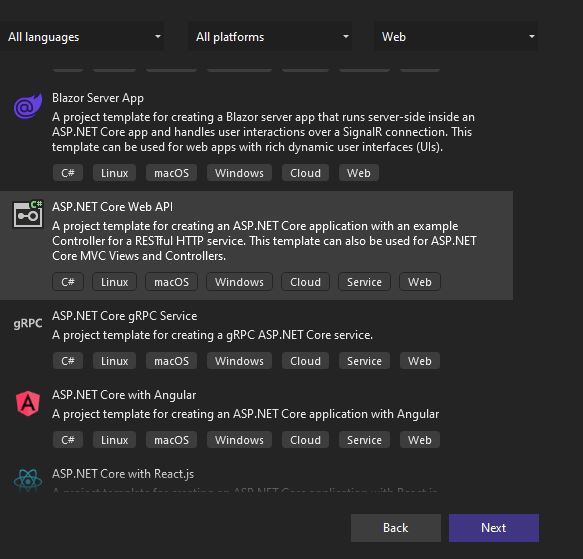
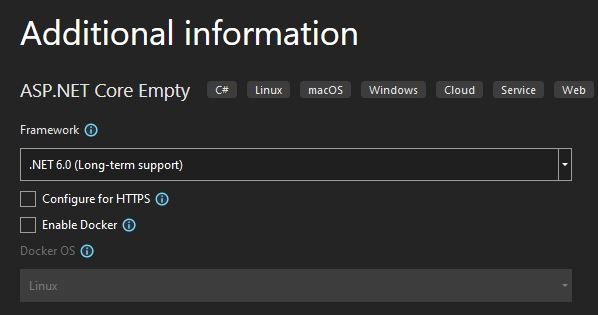
Open Visual Studio Create or open a ASP.NET Core Web API Project, in my case I’m creating a new project with .NET 6.
Creating a new project
Select a template as shown in the below figure
Step 2
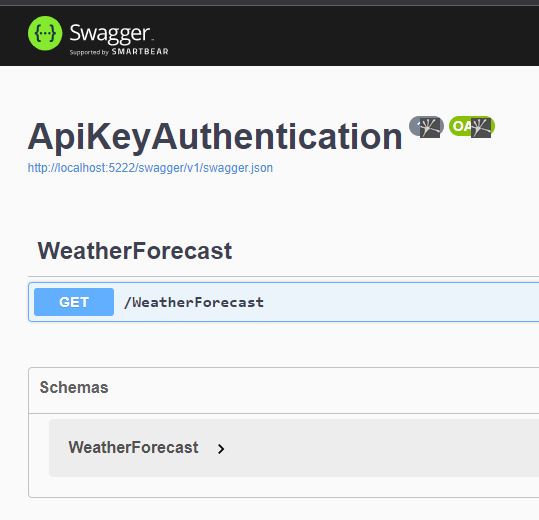
Run the application and you will get swagger UI to access WeatherForecast API.
public class ApiKeyMiddleware {
private readonly RequestDelegate _next;
private
const string APIKEY = "XApiKey";
public ApiKeyMiddleware(RequestDelegate next) {
_next = next;
}
public async Task InvokeAsync(HttpContext context) {
if (!context.Request.Headers.TryGetValue(APIKEY, out
var extractedApiKey)) {
context.Response.StatusCode = 401;
await context.Response.WriteAsync("Api Key was not provided ");
return;
}
var appSettings = context.RequestServices.GetRequiredService < IConfiguration > ();
var apiKey = appSettings.GetValue < string > (APIKEY);
if (!apiKey.Equals(extractedApiKey)) {
context.Response.StatusCode = 401;
await context.Response.WriteAsync("Unauthorized client");
return;
}
await _next(context);
}
}
The middleware will check the API key in the header and validate the key by extracting it from the header and compare with the key defined in code.
InvokeAsync method is defined in this middleware so that it will contain the main process, in our case, the main process will be to search and validate the ApiKey header name and value within the httpcontext request headers collection
if (!context.Request.Headers.TryGetValue(APIKEY, out
var extractedApiKey)) {
context.Response.StatusCode = 401;
await context.Response.WriteAsync("Api Key was not provided ");
return;
}
If there is no header with APIKEY it will return “Api Key was not provided”
Step 4
Open Program.cs file to register the middleware
app.UseMiddleware<ApiKeyMiddleware>();
Step 5
Open appsettings.json file and add an API Key
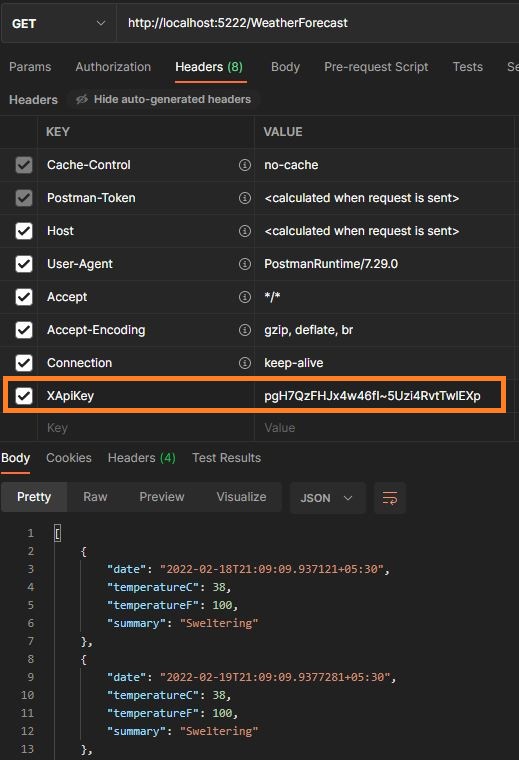
"XApiKey": "pgH7QzFHJx4w46fI~5Uzi4RvtTwlEXp"
Step 6
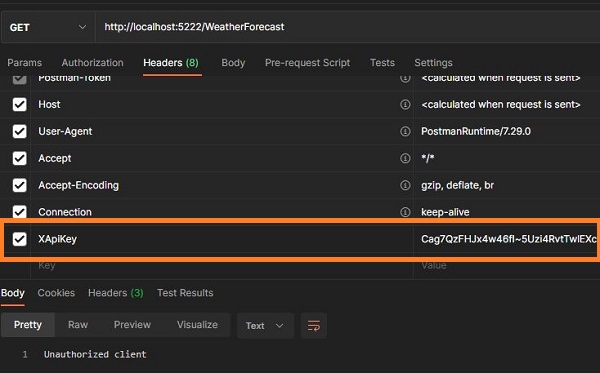
Run the application, and test the API using POSTMAN without passing the ApiKey in header, you will get “Api Key was not provided” message in payload, as shown in the below figure.
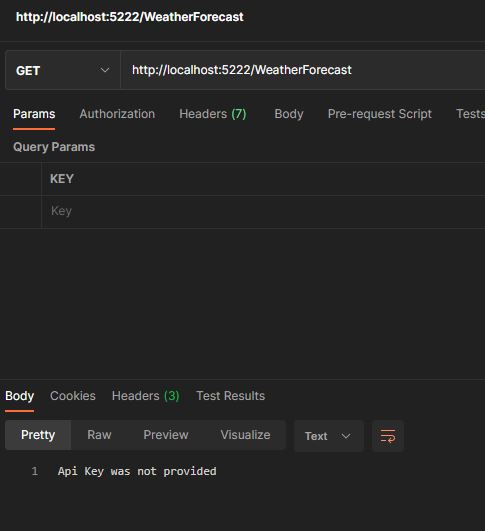
Passing wrong API Key
Providing correct API Key
European best, cheap and reliable ASP.NET hosting with instant activation. HostForLIFE.eu is #1 Recommended Windows and ASP.NET hosting in European Continent. With 99.99% Uptime Guaranteed of Relibility, Stability and Performace. HostForLIFE.eu security team is constantly monitoring the entire network for unusual behaviour. We deliver hosting solution including Shared hosting, Cloud hosting, Reseller hosting, Dedicated Servers, and IT as Service for companies of all size.
