What is SSL Certificate?
SSL stands for Secure Sockets Layer, a global standard security technology that enables encrypted communication between a web browser and a web server.
Create ASP.NET Web Application
- Start Visual Studio 2019 and select Create a new project.
- In the Create a new project dialog, select ASP.NET Web Application (.NET Framework) > Next.
- In the Configure your new project dialog, enter SSLSample for Project name. It's important to name the project SSLSample. Capitalization needs to match each namespace when code is copied.
- Select Framework (.NET Framework 4.7.2)
- Select Create.
- In the Additional Information dialog, select MVC
- Select Create.
There are two ways, you can configure SSL in your application. If you are creating your application from scratch, then select the option Configure for HTTPs when creating a new project. For this sample, please uncheck Configure for HTTPs.

In this article, we are going to discuss if your application is already built, and you are planning to enable SSL in Visual Studio.
So, when you run your application, you see the URL like this (http://localhost:44345/):
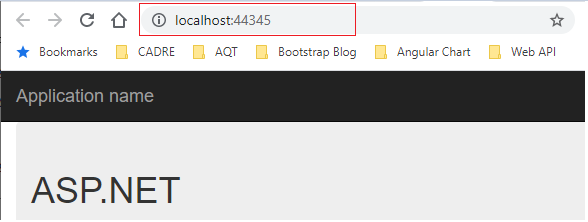
But we would like to see like this (https://localhost:44345/). Let’s configure SSL in our application.
The first step is easy. You just select the project name in the solution and locate the property called “SSL Enabled” in properties window:
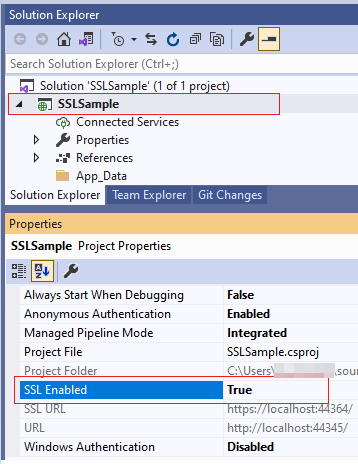
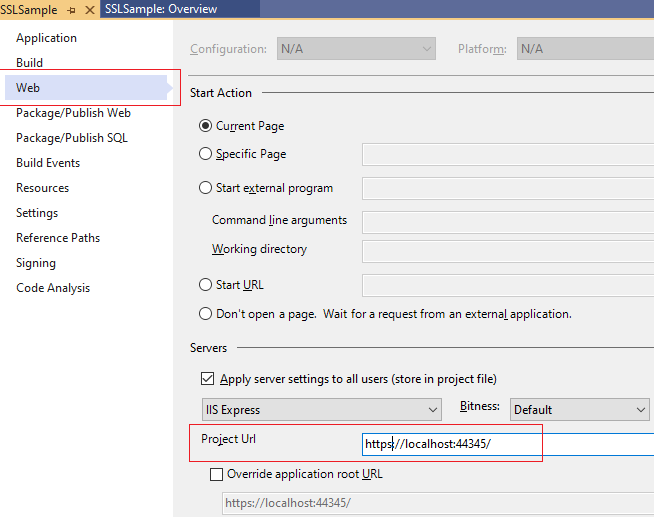
The same properties window will also show the HTTPS URL for the application. In the above example, it’s https://localhost:65440/. Copy that URL and go to the project properties window. Locate the Web tab and override the Project URL property with the https address:
After that, you need to setup a trusted certificate for Visual Studio. You can locate the certificate in the Personal folder of the computer-level certificates in the certificates snap-in:

If you double-click the certificate, you’ll see that it’s not trusted:
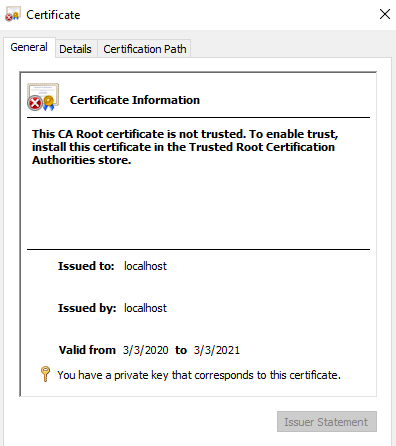
The message also provides the solution: the certificate must be imported into the trusted root certification authority’s folder. You’ll see that as a folder in the same snap-in just below “Personal”. So how can we do that?
EXPORT
- Right-click the certificate
- Select All Tasks
- Export… from the context menu.
- Click Next on the certificate export wizard.
- Leave the “Do not export the private key” option untouched, click Next.
- Accept the default on the next screen, i.e., “DER encoded binary X.509” should stay selected, then click Next.
- Provide a name and a location for the exported file. Call it “localhost” and save it in a location where you can easily find it.
- Click Next and then Finish.
There should be a popup message saying that the export was successful.
IMPORT
- Next right-click the folder called Trusted Root Certification Authorities and select All Tasks
- Import… from the context menu.
- Leave the “Local Machine” option untouched in the certificate import wizard, click Next.
- Browse to the certificate you saved just before.
- Click Next and accept all the default values along the way until you reach the end of the wizard.
There should be a message saying that the import was successful.
OK, let’s start the .NET web project again, the opening page should open without any warning. If you still see the same issue, then test it in a brand-new browser session.
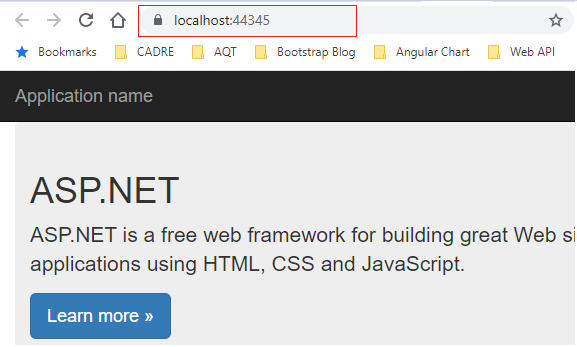
You can also view the extracted certificate from the browser window. Here’s an example:
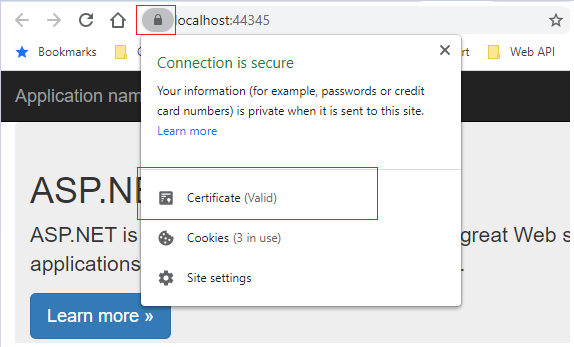
As you can see, the website URL is SSL secured and protected.
Conclusion
In this article, we have learned how to setup an SSL certificate in Visual studio for Local applications.
European best, cheap and reliable ASP.NET hosting with instant activation. HostForLIFE.eu is #1 Recommended Windows and ASP.NET hosting in European Continent. With 99.99% Uptime Guaranteed of Relibility, Stability and Performace. HostForLIFE.eu security team is constantly monitoring the entire network for unusual behaviour. We deliver hosting solution including Shared hosting, Cloud hosting, Reseller hosting, Dedicated Servers, and IT as Service for companies of all size.
