We are going to discuss here SSL Certificate configuration for secure communication over the HTTPS using .NET Core Web API and Docker after running our application inside the docker container using docker-compose.
Introduction
HTTPS is a standard internet protocol that makes the data to be encrypted and a more advanced and secure version of the HTTP protocol.
SSL stands for Secure Sockets Layer and standard technology which keeps secure our application over the internet.
SSL is the part of HTTPS protocol and it takes care of the encryption of data.
It enables a secure connection and prevents hacker attacks because of its encryption algorithm and many security layers.
Implementation of .NET Core Web API Application
Step 1
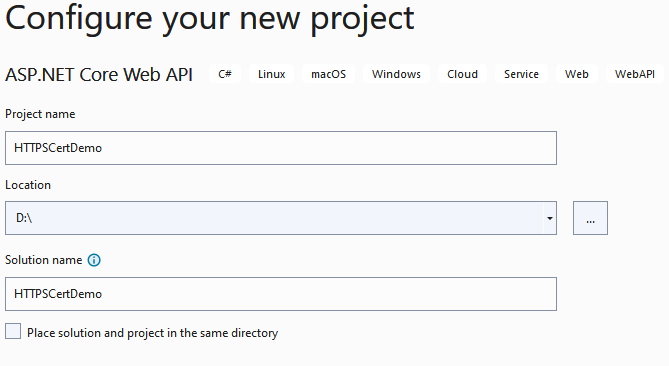
Create a new .NET Core Web API application
Step 2
Configure your application
Step 3
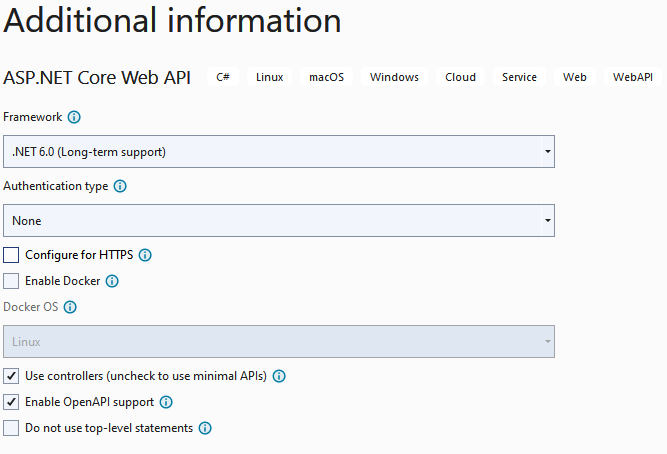
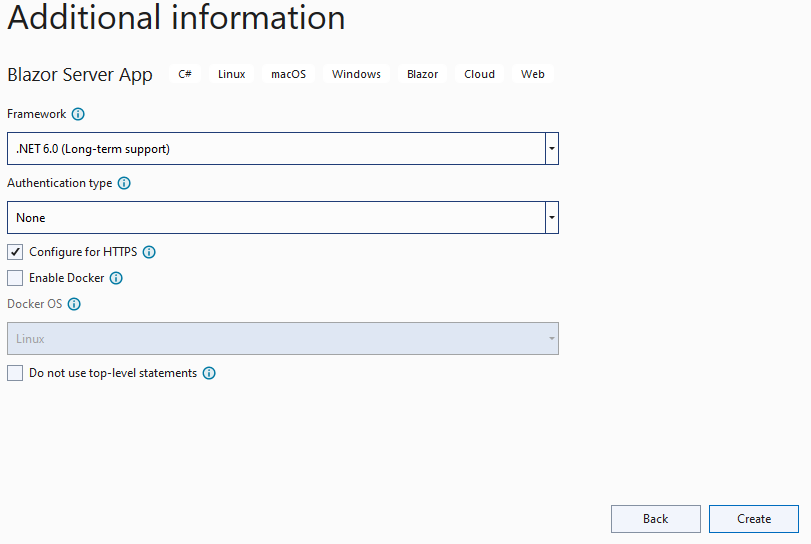
Provide additional information
Step 4
Next, we create a certificate for the local machine using the following command
dotnet dev-certs https -ep %USERPROFILE%\.aspnet\https\dockerdemo.pfx -p Pass@*****
dotnet dev-certs https --trust
Here as you can see, we pass the certificate name and password in the above command and it will create the certificate at %USERPROFILE%\.aspnet\https this location

Step 5
Create a Docker file for our Weather Forecast application
FROM mcr.microsoft.com/dotnet/sdk:6.0 AS build
WORKDIR /app
EXPOSE 443
EXPOSE 80
# copy project csproj file and restore it in docker directory
COPY ./*.csproj ./
RUN dotnet restore
# Copy everything into the docker directory and build
COPY . .
RUN dotnet publish -c Release -o out
# Build runtime final image
FROM mcr.microsoft.com/dotnet/aspnet:6.0
WORKDIR /app
COPY --from=build /app/out .
ENTRYPOINT ["dotnet", "HTTPSCertDemo.dll"]
Step 6
Here using this command, you can create a docker image inside the docker desktop (Note: Make sure docker desktop is working fine on your machine)
docker build . -t ssldemo:v1
Next, we run our application after setting port and certificate details using docker volume.
docker run -p 8081:80 -p 8082:443 -e ASPNETCORE_URLS="https://+;http://+" -e ASPNETCORE_HTTPS_PORT=7001 -e ASPNETCORE_Kestrel__Certificates__Default__Password="Pass@*****" -e ASPNETCORE_Kestrel__Certificates__Default__Path=/https/dockerdemo.pfx -v %USERPROFILE%\.aspnet\https:/https/ ssldemo:v1
Here you can see we provide two ports one is for HTTPS and another one is for HTTPS, also some environmental variables like port, certificate path, and credentials along with docker volume (Note: docker volume is basically the shared directory which persists the data with docker container which is created by the user like in this case we create a certificate and it located at our local system)
Step 7
Also, if we want to manage multiple docker images and their configuration efficiently, in that case, we can use the docker-compose file for managing all our application dynamic settings which we required when the application image is running inside the docker container for that we are going to create a docker-compose YAML file for the application
version: '3.5'
services:
Weatherforecase.Service:
image: ${DOCKER_REGISTRY-}ssldemo:v1
build:
context: ./HTTPSCertDemo
dockerfile: Dockerfile
environment:
- ASPNETCORE_ENVIRONMENT=Development
- ASPNETCORE_URLS=https://+:443;http://+:80
- ASPNETCORE_Kestrel__Certificates__Default__Password=Pass@*****
- ASPNETCORE_Kestrel__Certificates__Default__Path=/https/dockerdemo.pfx
ports:
- "8081:80"
- "8082:443"
volumes:
- ~/.aspnet/https:/https:ro
Here, you can see we provide different parameters with the help of environmental variables like docker image name, container name, certificate details, docker volume, and application port numbers
To run your application using the docker-compose YAML file for that use the following commands
docker-compose build
docker-compose up
Here one command is going to build and create a docker image inside the docker desktop and another one runs your application image inside the docker container and configure all dynamic settings which you passed inside the YAML file.
Step 8
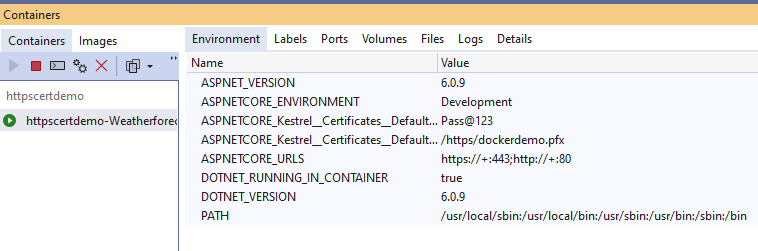
Next, in the docker desktop, you can see the application is running inside the docker container

Also, inside the visual studio, we can see the details of containers as shown in the below images


Step 9
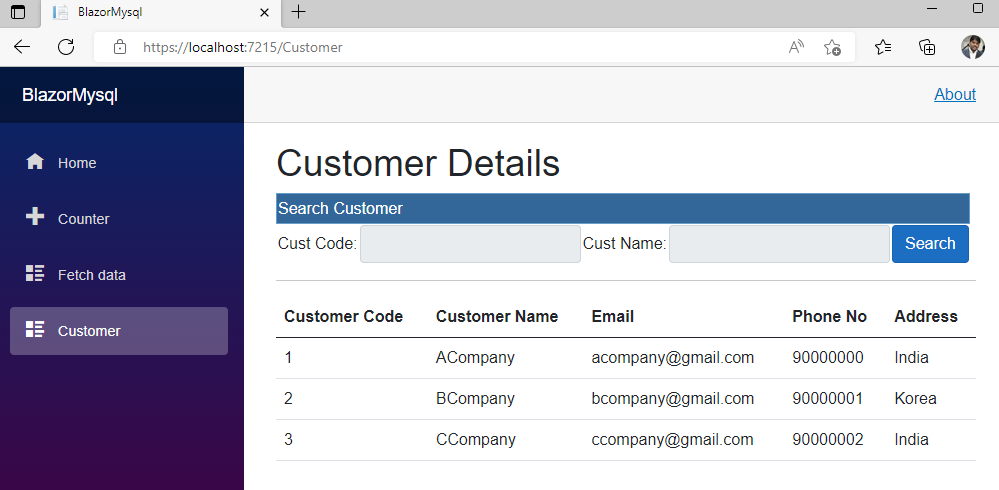
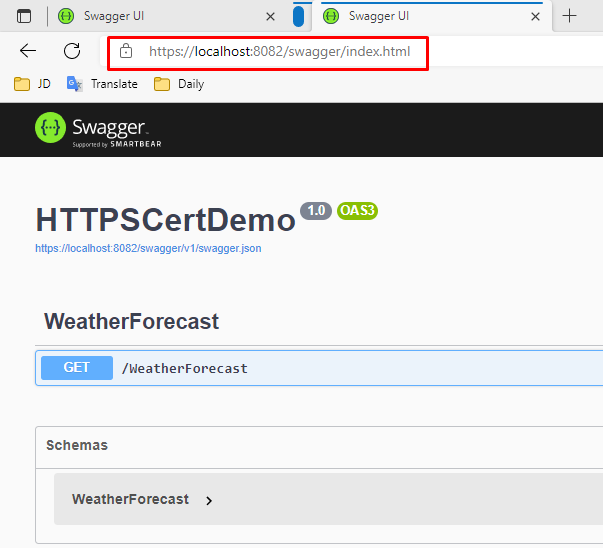
Finally, open both application URLs and use the application
http://localhost:8081/swagger/index.html
https://localhost:8082/swagger/index.html
European best, cheap and reliable ASP.NET hosting with instant activation. HostForLIFE.eu is #1 Recommended Windows and ASP.NET hosting in European Continent. With 99.99% Uptime Guaranteed of Relibility, Stability and Performace. HostForLIFE.eu security team is constantly monitoring the entire network for unusual behaviour. We deliver hosting solution including Shared hosting, Cloud hosting, Reseller hosting, Dedicated Servers, and IT as Service for companies of all size.
